Welcome to TNI's newest feature called
Toy Custom Tutorials. If you have ever wanted to start customizing your own figures or you've been customizing for awhile, this feature was created to bring you tips and tricks of the trade. Customizer
FUGAYZIE breaks it down step-by-step showing you how he does it. If you have a specific question for him,
click here to post them on our forums.
This time around
FUGAYZIE will be showing you how he created a
Marvel Legends style Human Torch figure.
Tools Needed: Head-F4 movie Human Torch, Body-Bullseye, apoxie sculpt.
Step 1:
remove the heads from the bodies by either the boil and pop method or hairdryer method. The peg hole for the torch head is to large for the bullseye neck peg so you will need to stuff some apoxie sculpt in the head peg hole, then press it on to the neck peg. The putty will wrap around the peg by doing so. gently spin the head a little to the left and right to break any seal that the apoxie putty may have. Do that about every 30 mins for the next 2 hours. That will insure the head will maintain its articulation.
Step 2:
Sculpt the flames or glue flames on to the body. If you sculpt just press some putty on to the desired area, flatten the tip a little with your fingers they you can use a toothpick to make the flame waves. This was the 1st time i ever attempted this. Just look a reference of fire (i.e. the ones on torches body) and try to copy them.
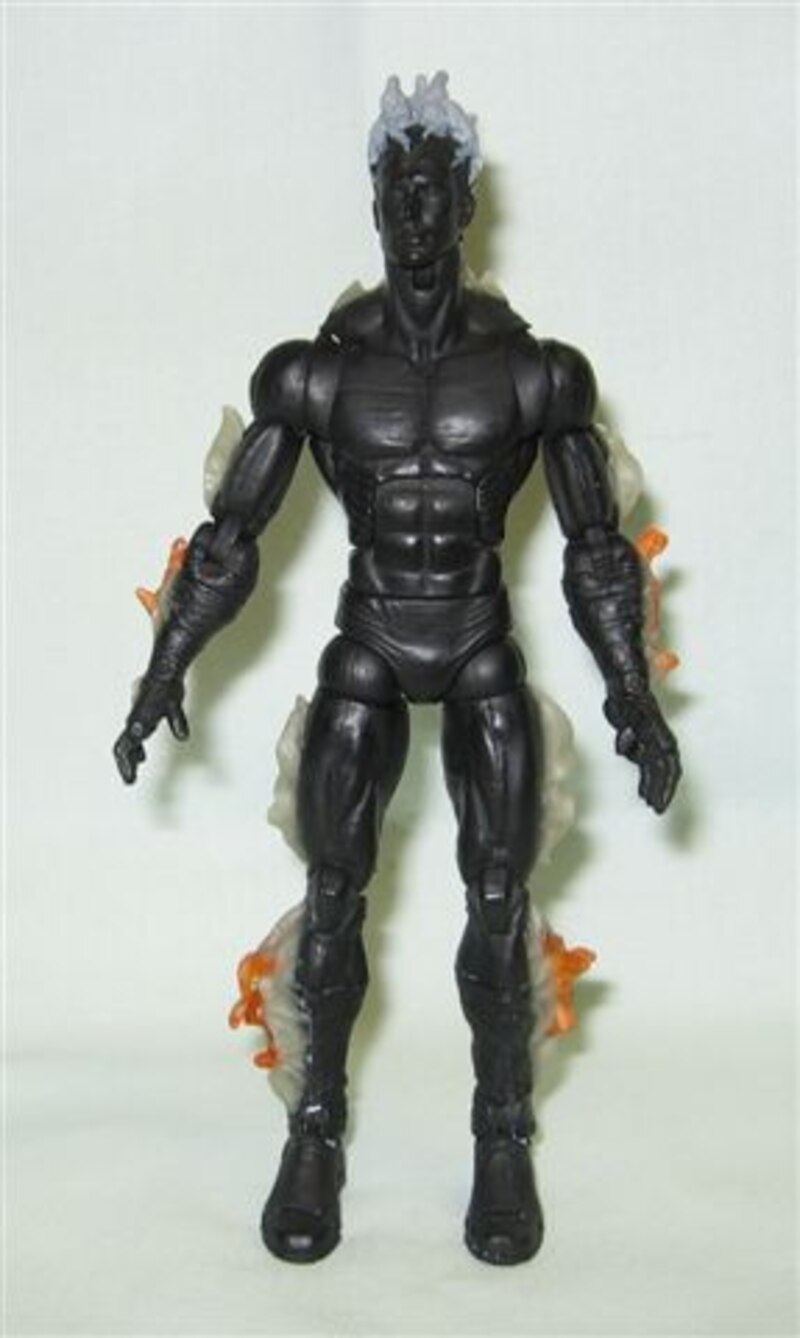
Step 3:
Paint everything flat black. This will be your base coat.
Step 4:
Do a light drybrushing of orange all across the figure. This will soften the black and highlight some of the bodies features.
Step 5:
Paint all the flames white. Then do a pale or canary yellow drybrushing. Next will be an orange drybrushing, and finally if you want to you can do a very light drybrushing of red just on the tips of the flames.
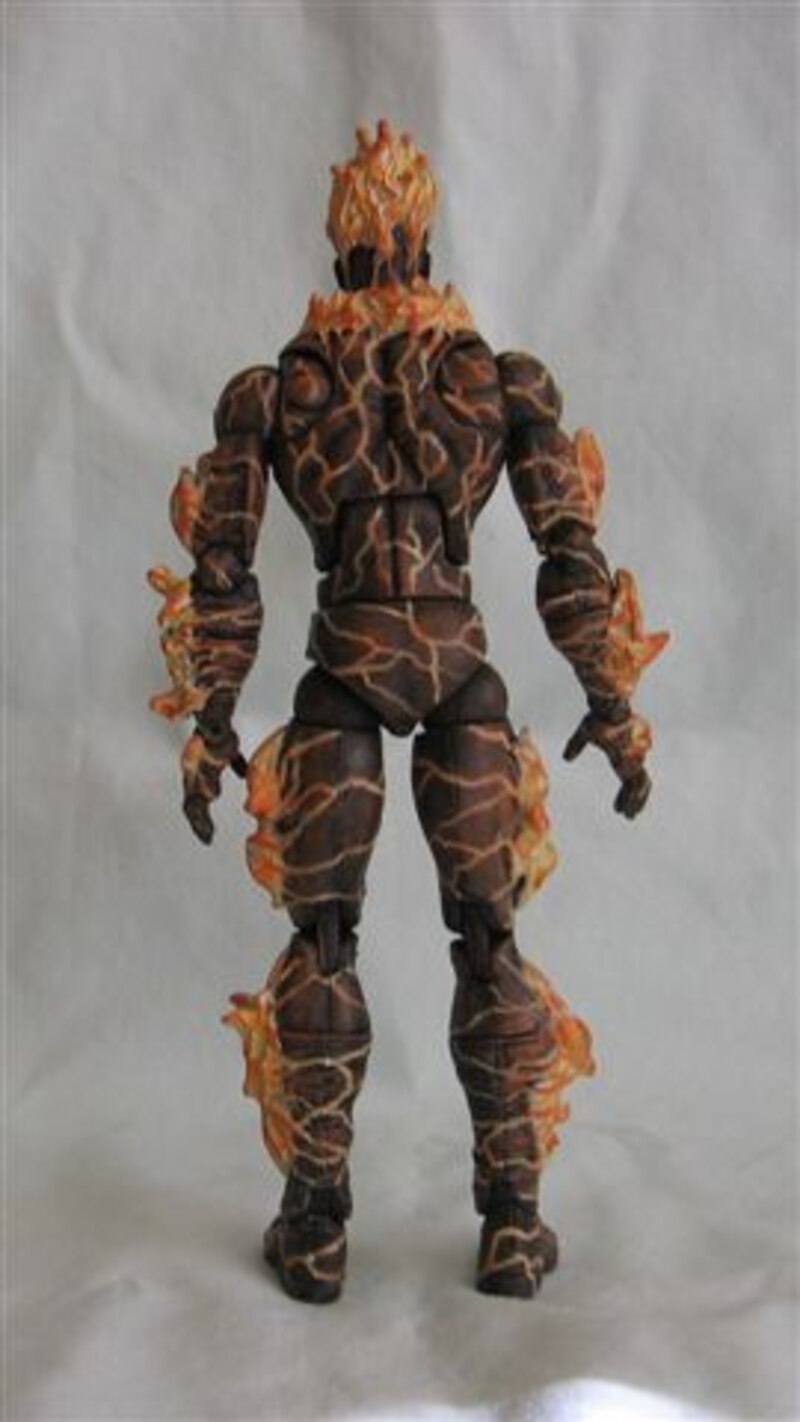
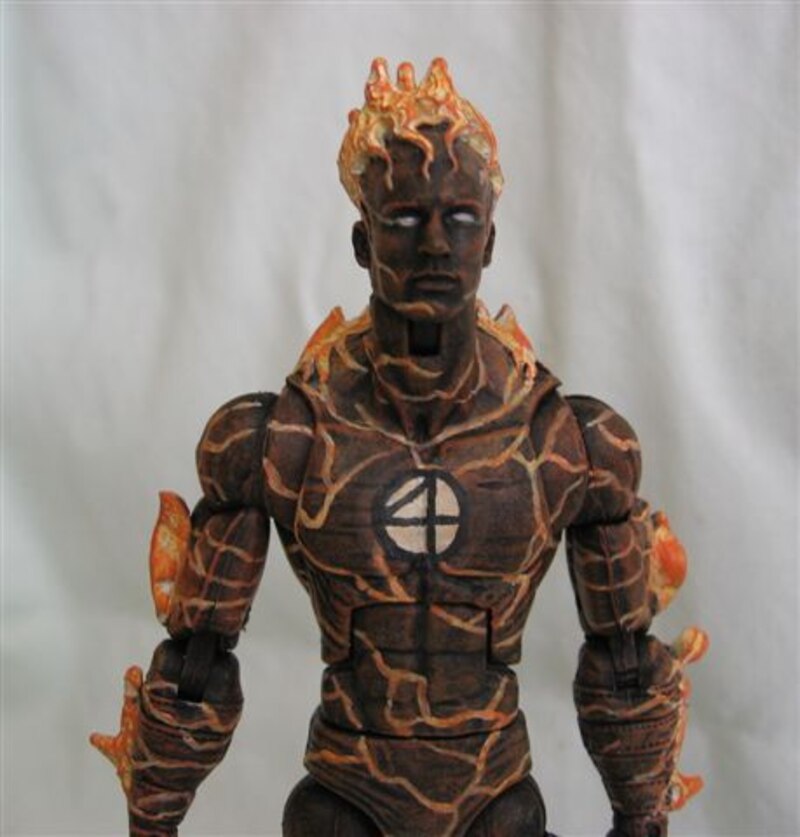
Step 6:
Look at the picture and try to paint thin white lines in a lightning style pattern it is actually the fire moving across the body or a molten lava look. Trace over all the white lines now with a canary/pale yellow. This will leave gaps of white in the lines which is ok because most people know that white fire is the hottest of fire. it will help give a look of varying heat. At this point you can also paint the eyes and and the 4 symbol white.
Step 7:
The final step is to do another orange drybrushing over the whole figure EXCEPT THE FLAMES!!! When you go over the 4 symbol i would also do it very very lightly so you dont get too much orange on it.
For those of you who have created your own customs, be sure to check out the details for the TNI Cool Custom of the Week $100 monthly give-away.
Click here to read more.
Search Online Stores for Star Wars
Shopping links on this site may generate revenue when a purchase is made.